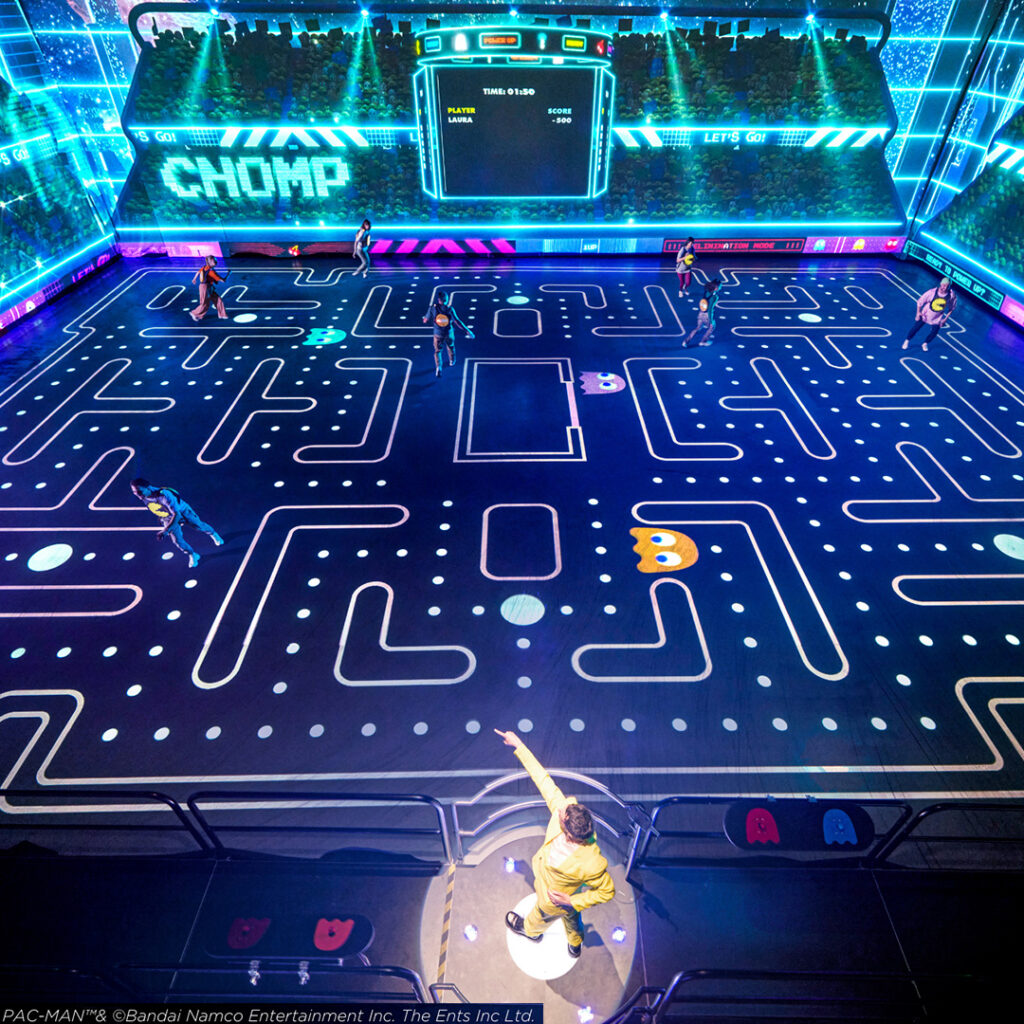
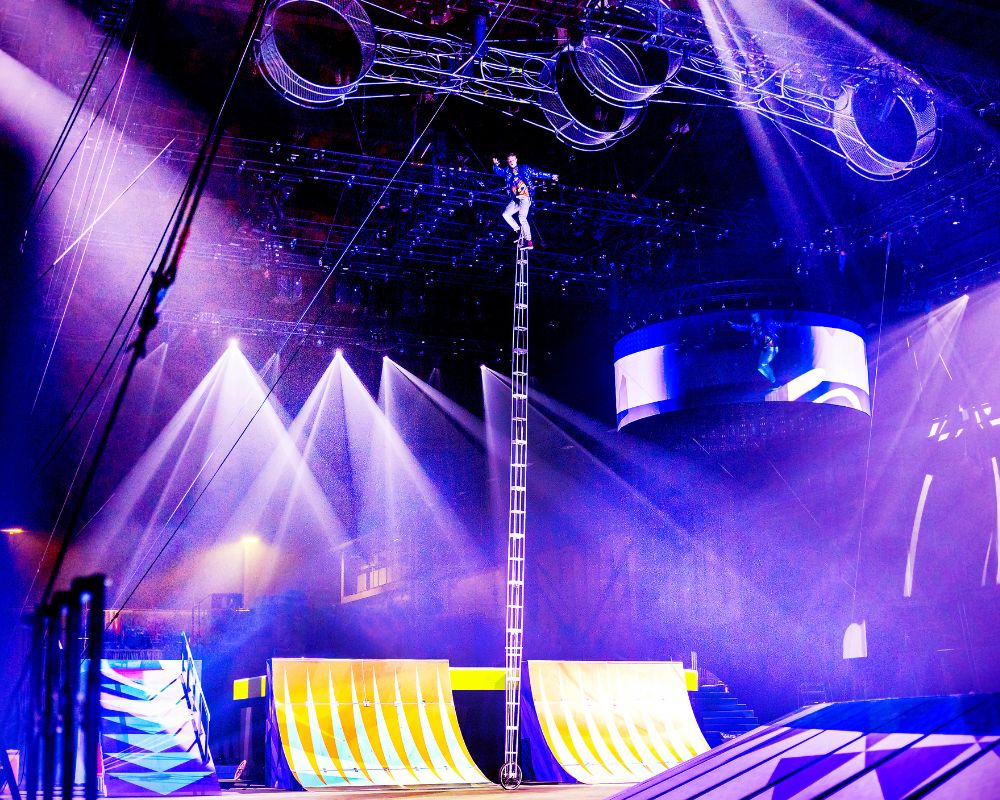
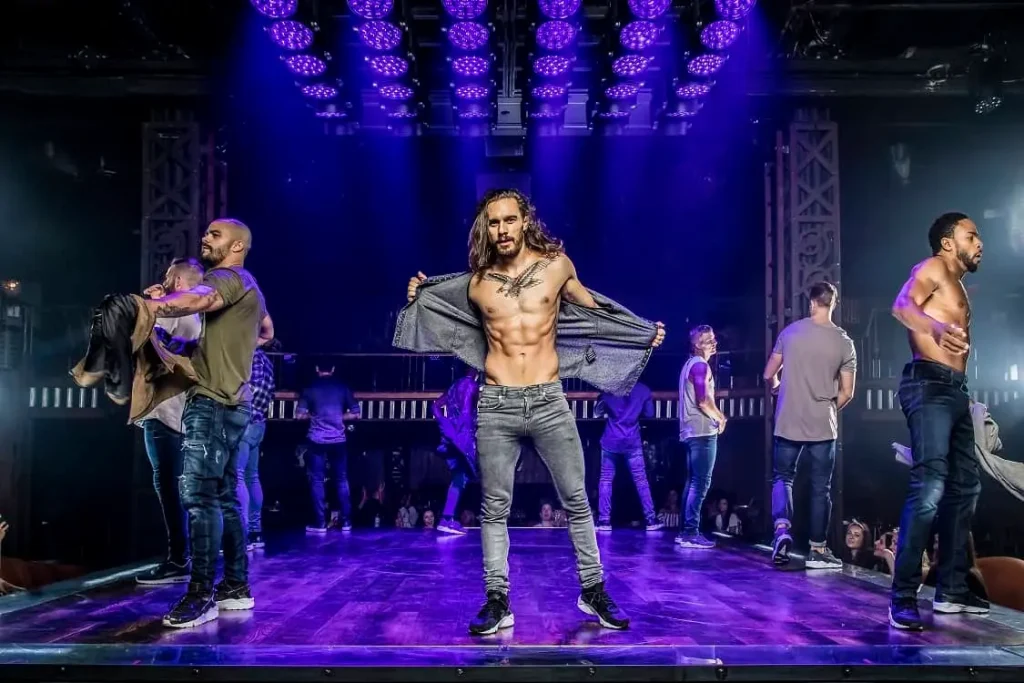
Little Lion Entertainment, a creative studio specializing in large-scale immersive experiences, recently developed a groundbreaking physical version of the classic
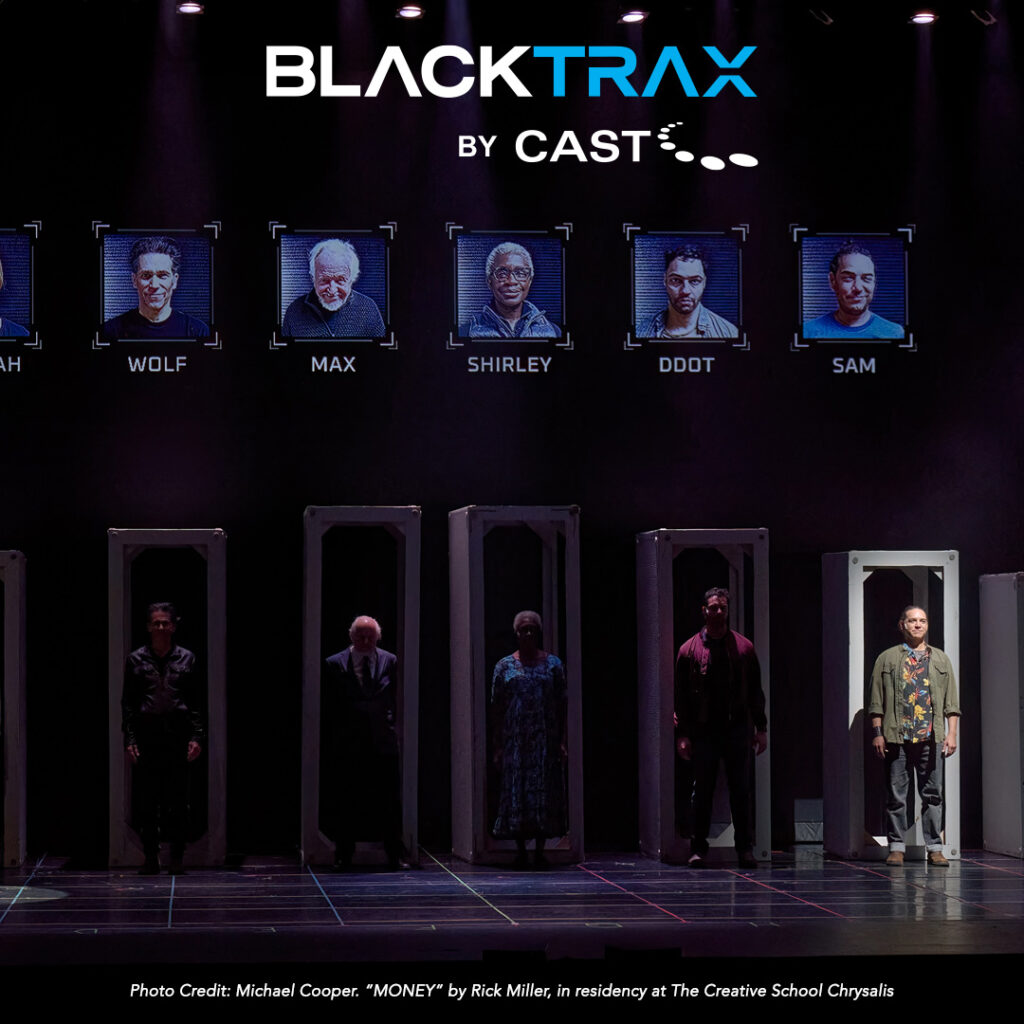
CAST Group of Companies Acquired by Vertus Group
Toronto, Canada – June 25 2025 – Vertus Group, a division of Jonas Software, is excited to welcome CAST Group
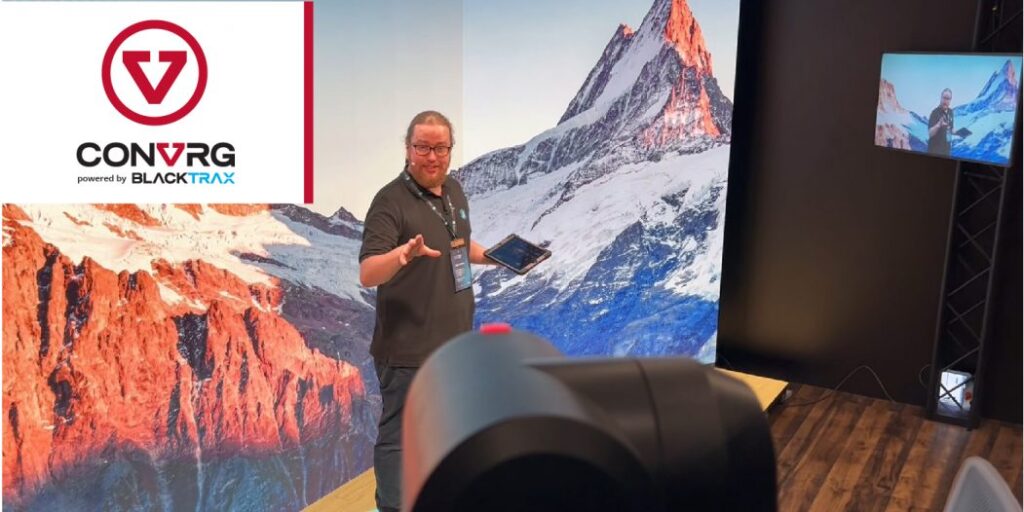
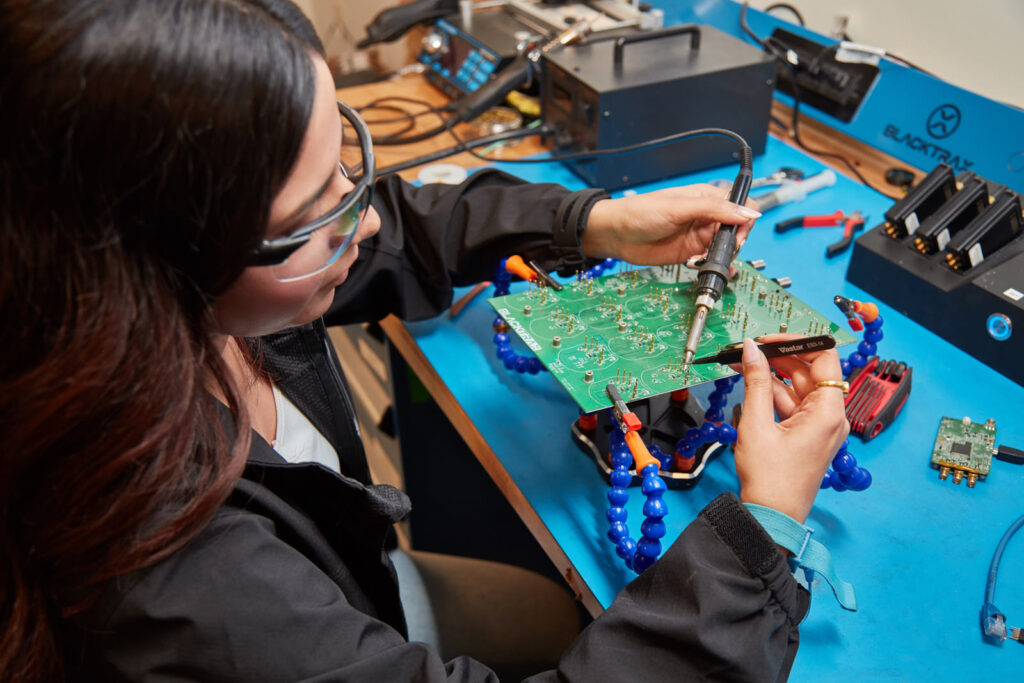
The BlackTrax New Product Launch at Prolight + Sound Guangzhou
On May 28th, during the vibrant Guangzhou International Professional Lighting and Sound Exhibition, the highly anticipated BlackTrax product launch event
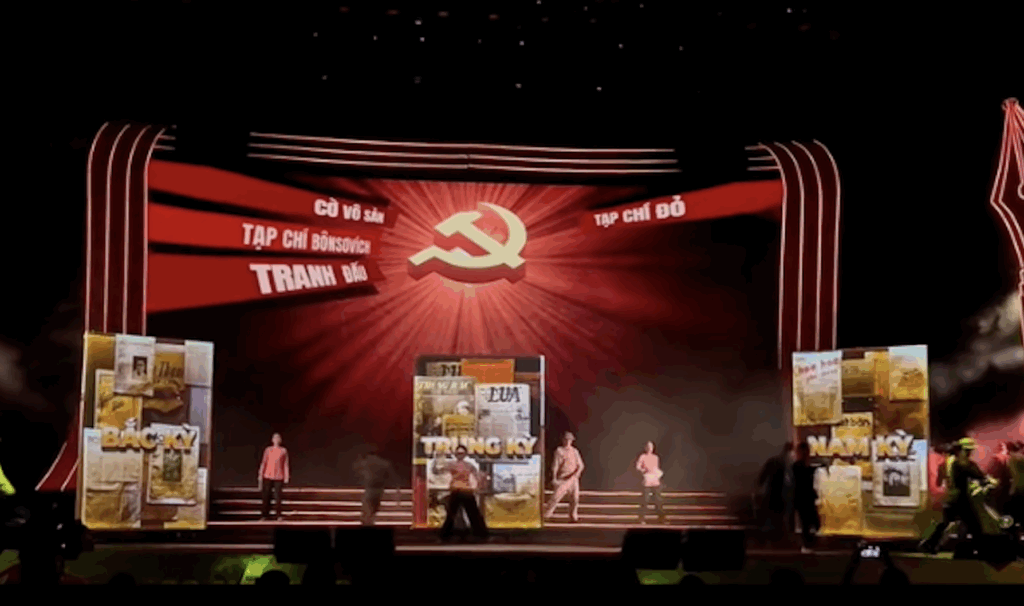
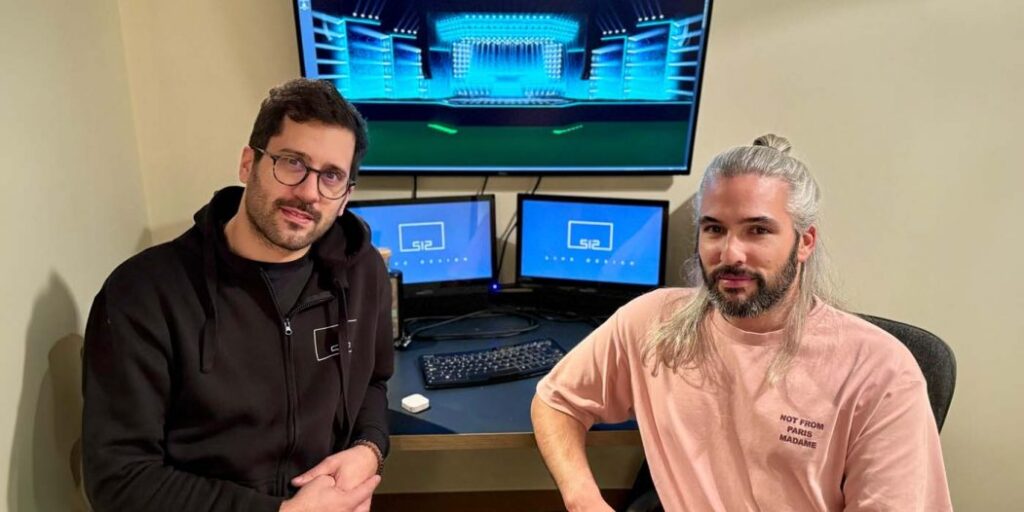
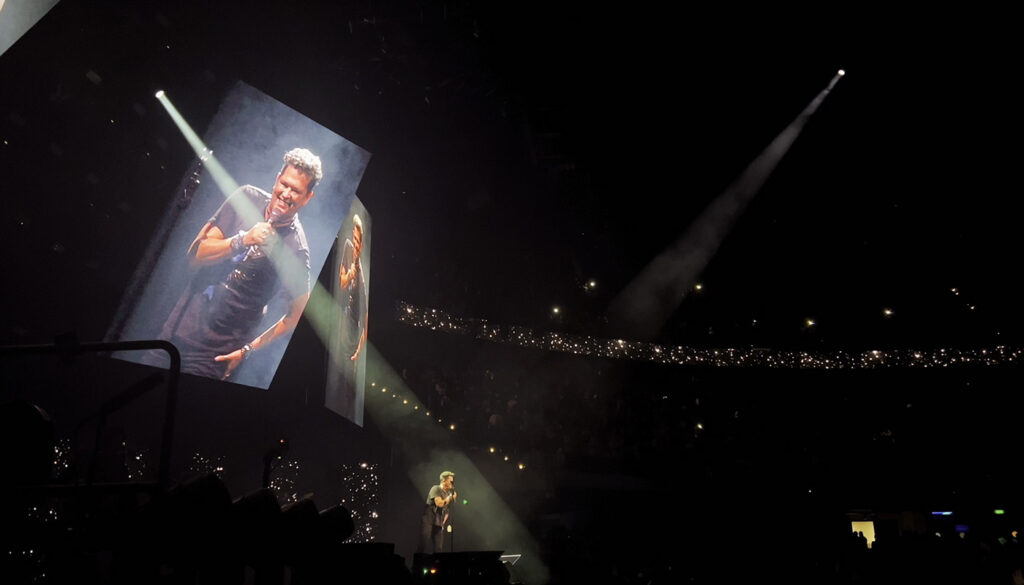
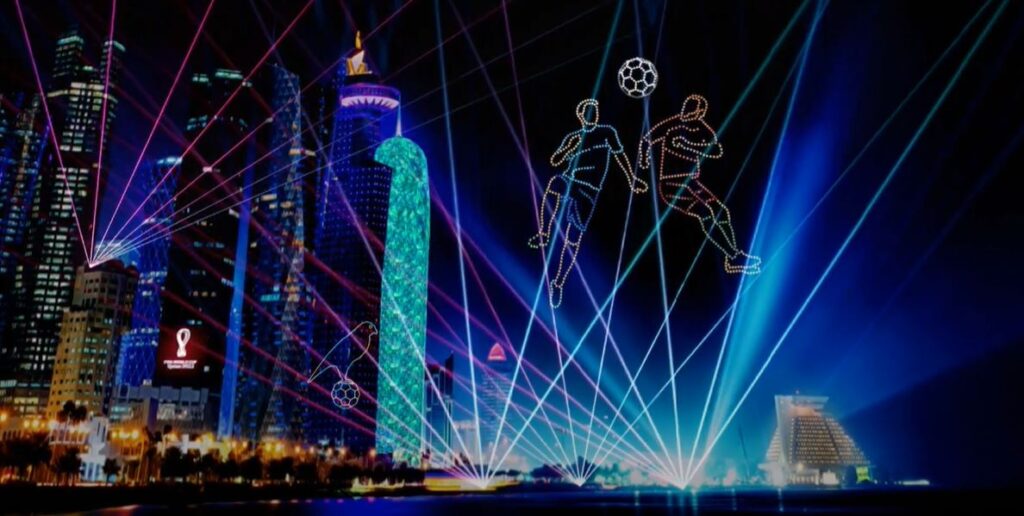
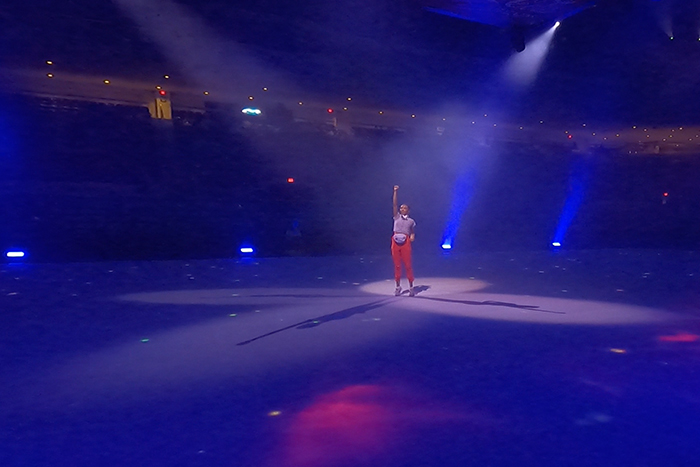
The KHL 2024/2025 season opening for ХК Динамо-Минск with BlackTrax
https://youtu.be/l80DWm-Ete8 The KHL 2024/2025 season opening for @hcdinamo.by featured a dynamic mix of technology and creativity, with BlackTrax at its
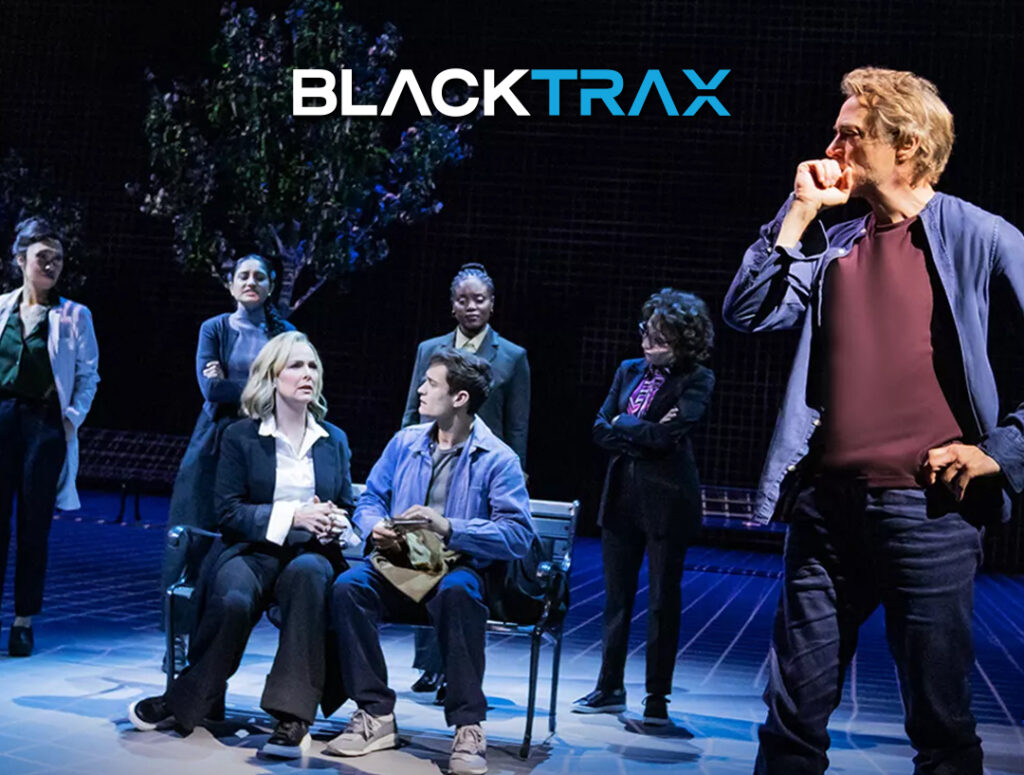
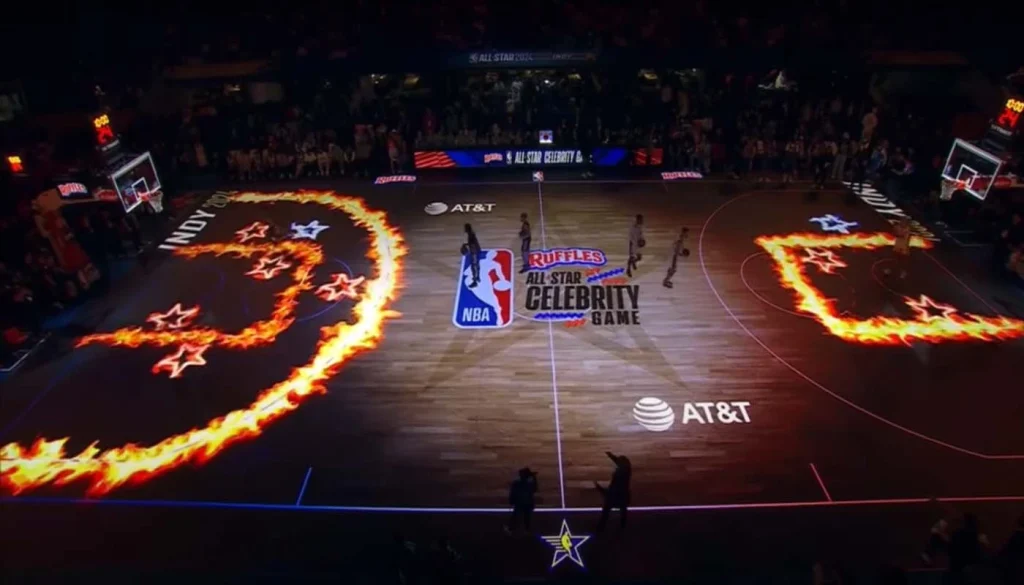
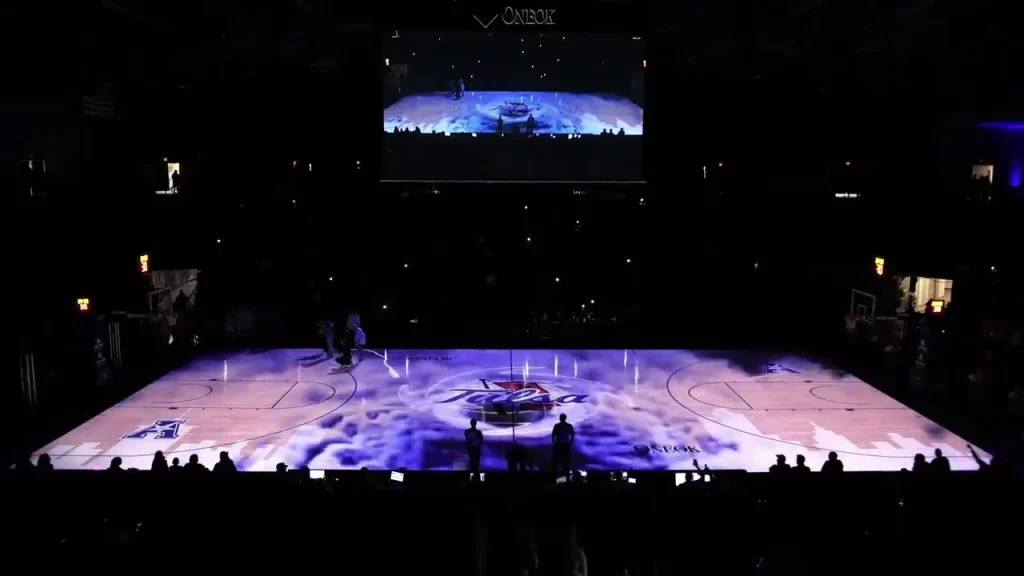
Blacktrax Showcases the Power of Real-Time Tracking During the NBA’s All Star Events
Toronto, Canada, March 2024: BlackTrax, a pioneering force in delivering real-time tracking technologies to the live events industry proudly brought
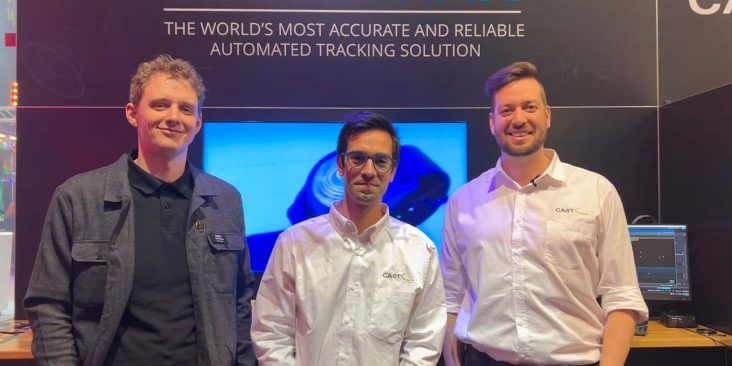
CAST Group of Companies Welcomes New Appointments to Drive Global Expansion
Toronto, Canada, January 2024: CAST Group of Companies, a pioneering force in developing revolutionary technologies for the Live Entertainment industry, proudly
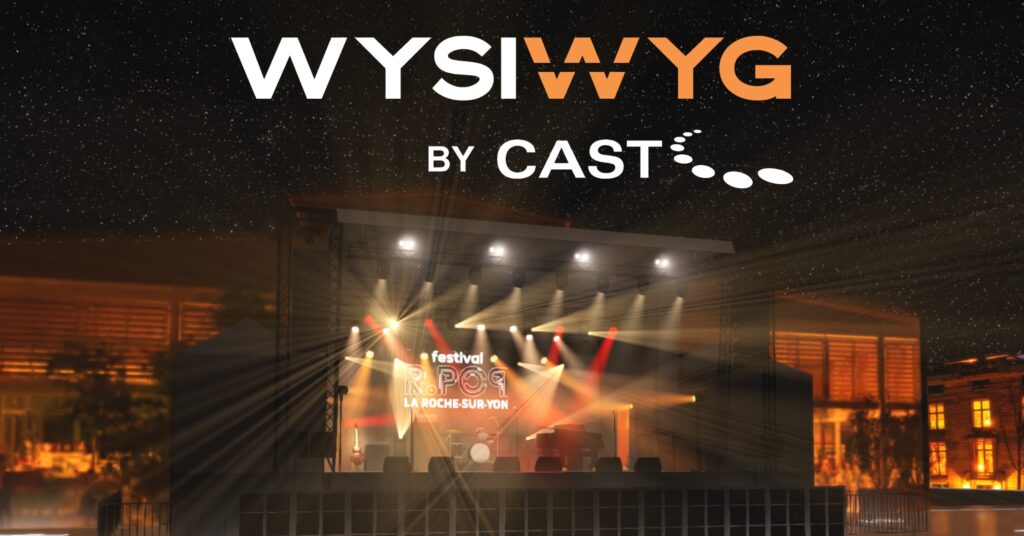
David Howard Illuminates Gary Numan’s 1000th Gig with Wysiwyg by CAST
British artist, Gary Numan, celebrated reaching an astounding 1000th gig milestone by performing three consecutive shows at London’s iconic Electric
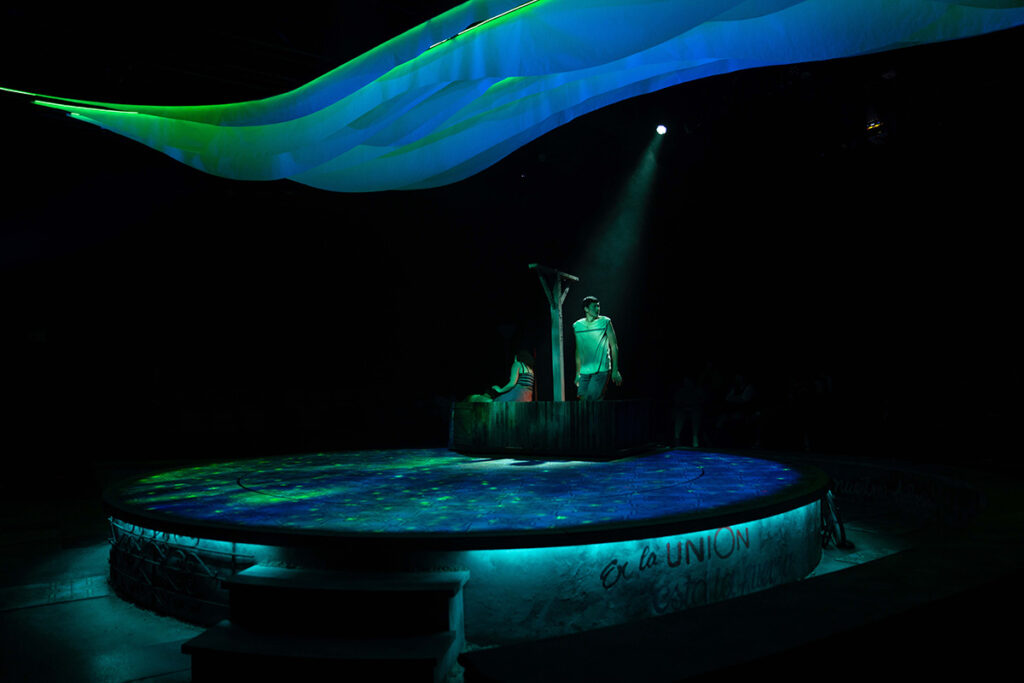
BlackTrax in the spotlight in Colombia with Lighting Stage Co.
The entertainment industry is continuously evolving, and professionals must stay ahead of the game if they want to remain competitive.
Panasonic Technology Outlook For Creative Industry at HUB Montreal Conference
HUB Montréal is a market-event for the business development of digital creativity companies working mainly in culture and entertainment. HUB Montréal showcases producers and creators of digital
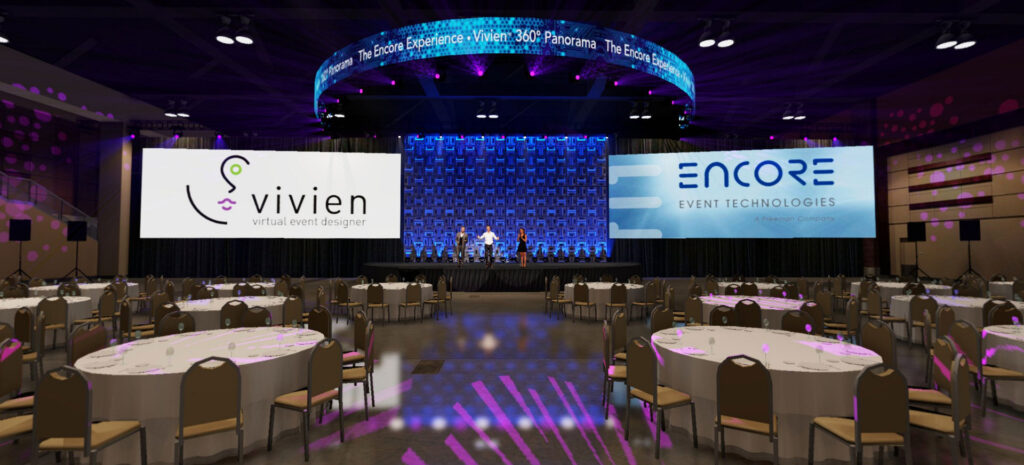
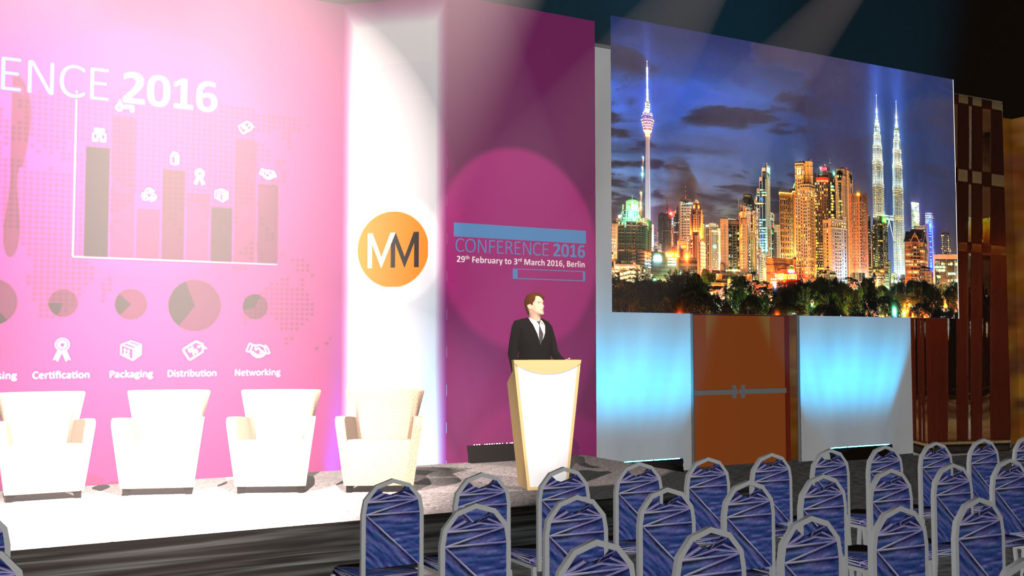
Using Vivien, international congress, and event production company, MiceMedia delivered on technical requirements for an annual food safety conference attracting