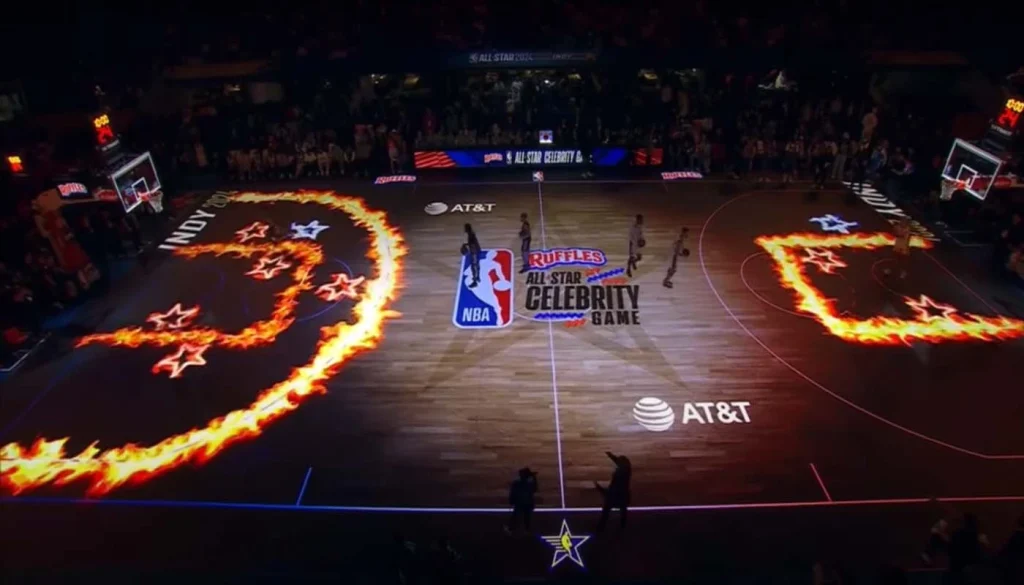
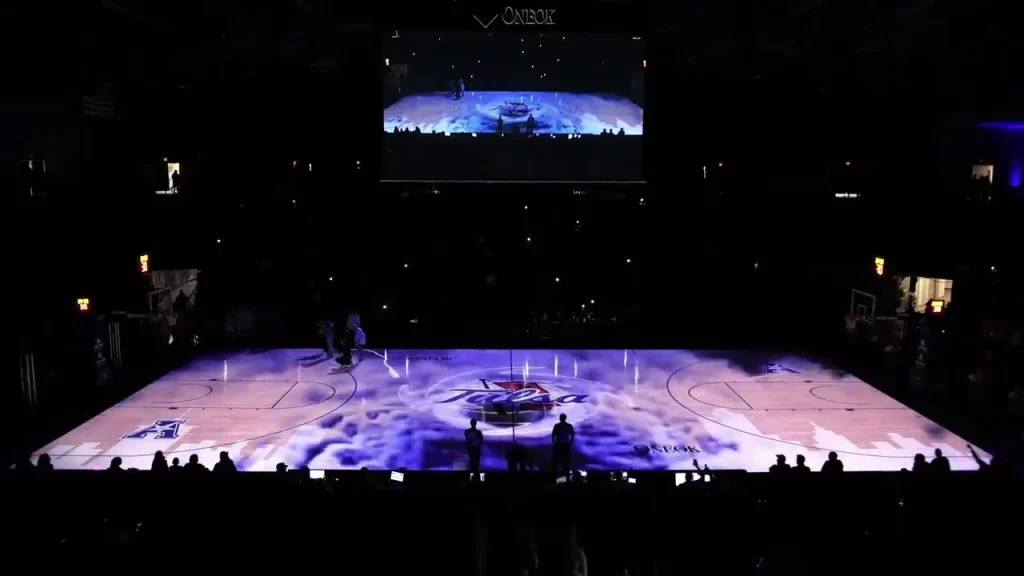
Blacktrax Showcases the Power of Real-Time Tracking During the NBA’s All Star Events
Toronto, Canada, March 2024: BlackTrax, a pioneering force in delivering real-time tracking technologies to the live events industry proudly brought
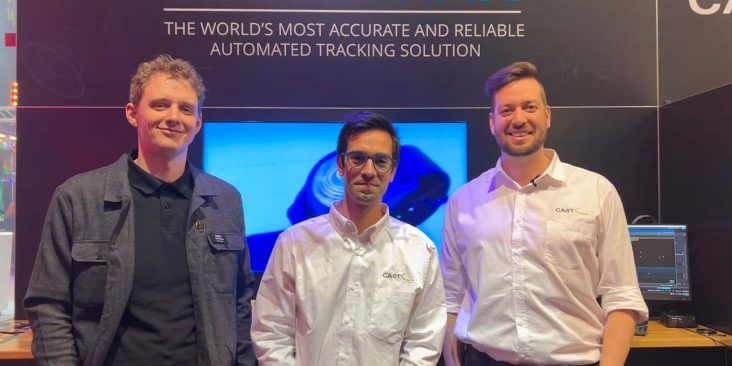
CAST Group of Companies Welcomes New Appointments to Drive Global Expansion
Toronto, Canada, January 2024: CAST Group of Companies, a pioneering force in developing revolutionary technologies for the Live Entertainment industry, proudly
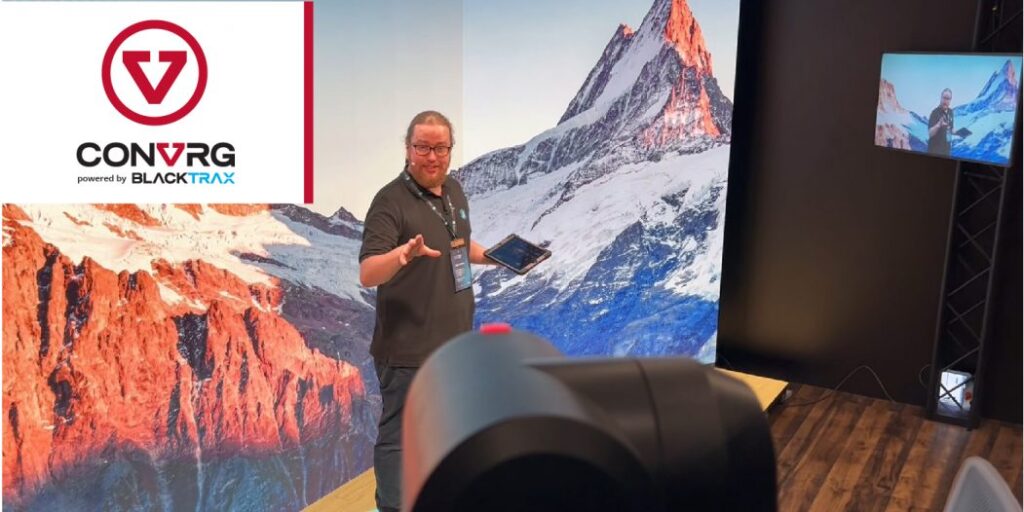
Panasonic Technology Outlook For Creative Industry at HUB Montreal Conference
HUB Montréal is a market-event for the business development of digital creativity companies working mainly in culture and entertainment. HUB Montréal showcases producers and creators of digital
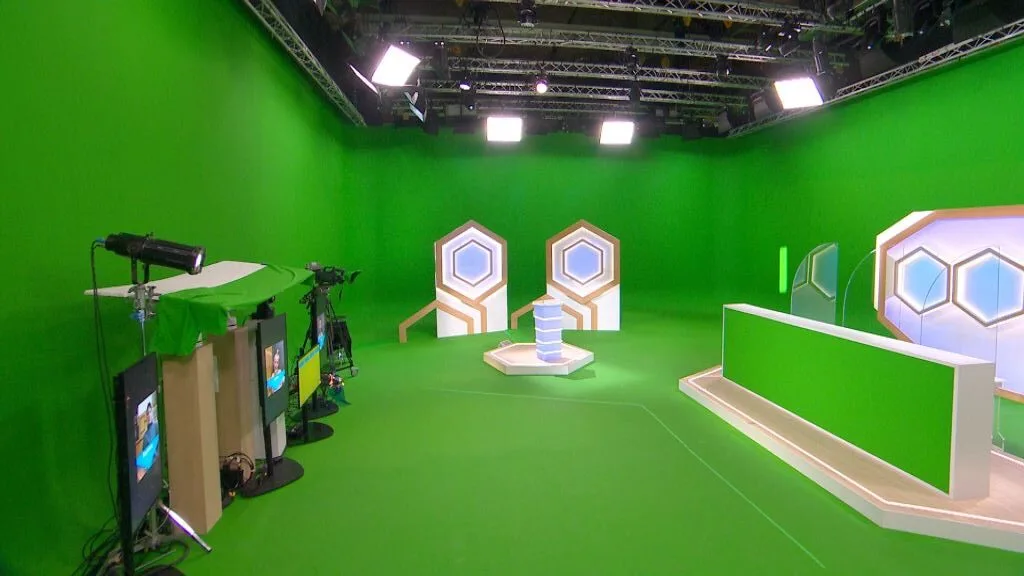
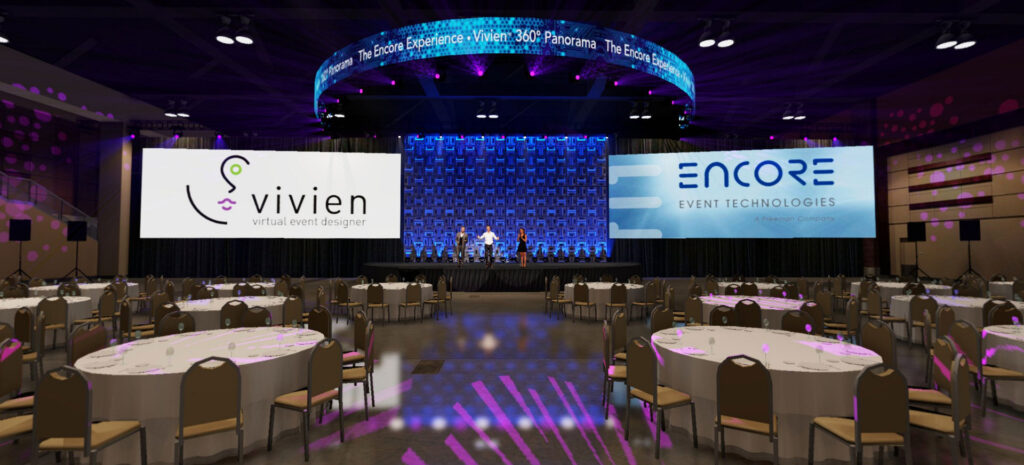
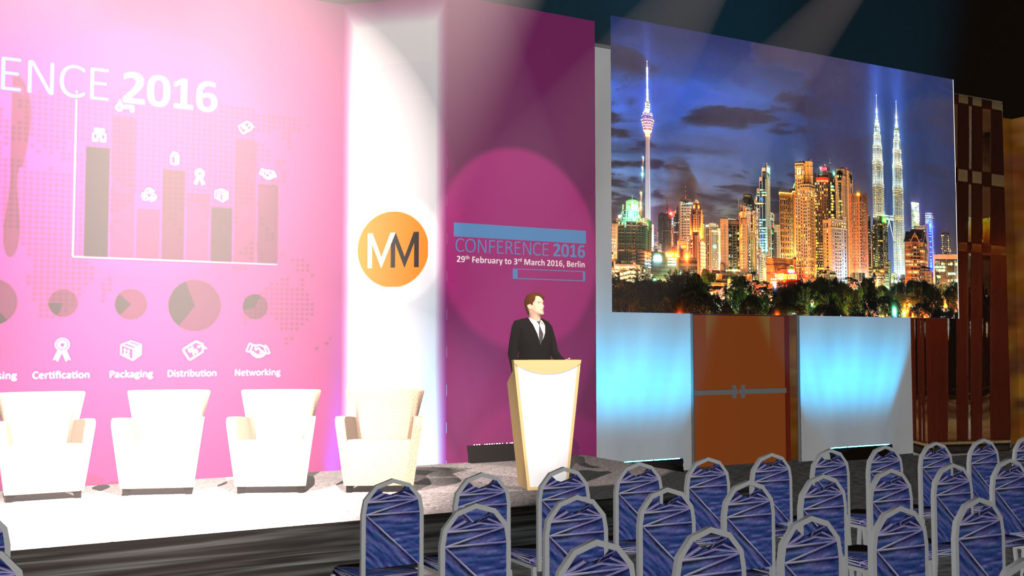
Using Vivien, international congress, and event production company, MiceMedia delivered on technical requirements for an annual food safety conference attracting